e-Gizmo 8-35VDC Input 750mA Adjustable Constant Current Output LED Driver
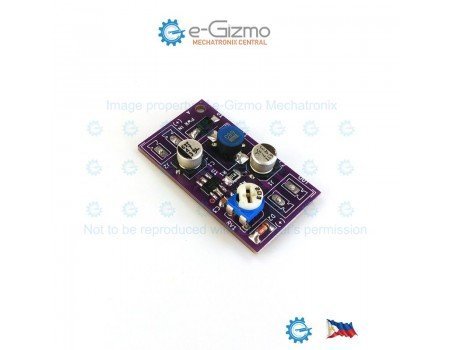
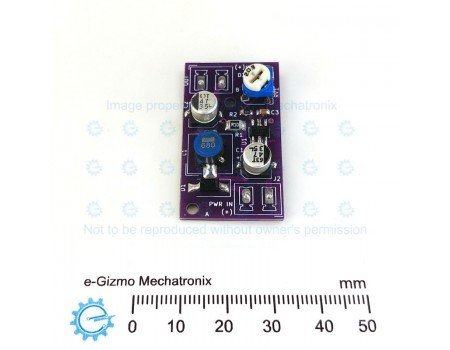
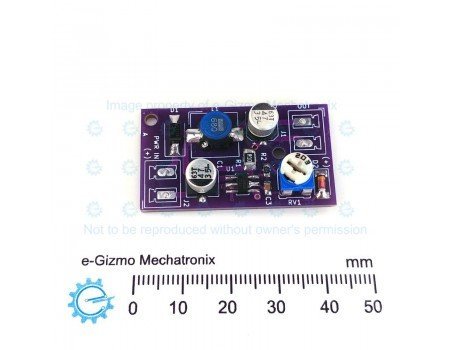
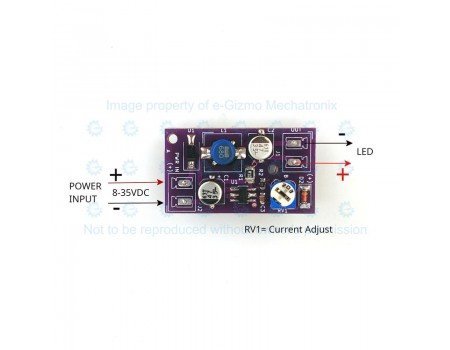


e-Gizmo 8-35VDC Input 750mA Adjustable Constant Current Output LED Driver
₱64.00
- Stock: In Stock
- Product Code: 211000050

Your shopping cart is empty!


Ideal for DIY Solar LED and other projects requiring a DC source LED driver.
Operating Voltage: 8-35VDC
Adjustable Output Current: 0 to 750mA
Efficiency: >90%
Power Output: Up to 25W, depending on LED operation voltage
1. Wiring
Wiring is pretty straight forward. Just solder a pair of wire connecting to a DC power source, and another pair connecting to your LED lamp.
Cautions:
Make sure the input power polarity is correct. Wiring the power input the wrong way will permanently damage the LED driver module.
Do not exceed the 750mA current output rating of the LED driver.
Install the board where there is air movement and away from the heat generated by the LED Lamp. If this is not practical, you may have to limit the current at no more than half its maximum capability to keep the driver from overheating.
The LED voltage rating must be lower by at least 3V from the power input voltage.
Note:
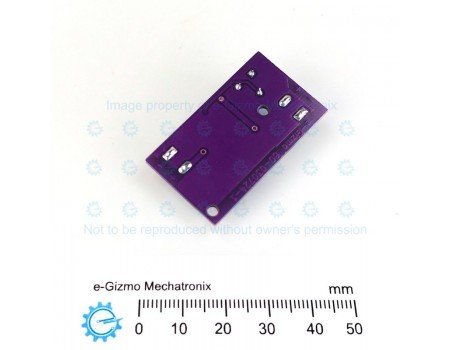
You can solder install a 5mm pitch screw terminal at the input and output pads if you so prefer.
2. First Time Powering Up and Adjustments.
Know the power rating of your LED. The output power(current) must be set to equal or less than the LED power rating. Lower power output results in a dimmer light but can considerably extend the life of your LED.
You can adjust the output power the easy way, or right during installation.
2.1 The easy way
Equipment Needed: A bench power supply with accurate Volt and Amp readout. The power supply must be capable of delivering the volts and amps needed by your LED.
2.1.1 Set the output voltage approximately equal to the DC source voltage where you will ultimately connect the LED circuitry (e.g. 24V Battery).
2.1.2 Turn the trimpot of the LED driver fully counterclockwise.
2.1.3 With the LED and driver fully wired as described in section 1, connect it to the power supply. Be mindful about the polarity.
2.1.4 Slowly turn the trimpot clockwise until the current reaches the value where Voltage x Current = LED power rating.
Note that you can set the output power about 5% higher to account for the LED driver losses if the scant increase in brightness matters to you.
2.2 Right during installation
Equipment needed: DMM with accurate Volt readout, and another DMM with accurate Ampere readout.
2.2.1 Break the LED wiring you made as described in section 1 and insert the Ammeter ( DMM in Ammeter Mode) in the LED circuit. The ammeter should be set at 1A range.
2.2.2 Connect the Volt DMM across the LED to monitor the LED voltage.
2.2.3 Turn the trimpot of the LED driver fully counterclockwise. Connect the LED driver to the power source (e.g. Battery). Be mindful about the polarity.
2.2.4 Slowly turn the trimpot clockwise until the current reaches the value where LED Voltage x Current = LED power rating.
That’s it. Your LED circuit is now set to do its work.
Prices and stock availability subject to change without prior notice. If you want this product but it indicates it is not in stock, chat us or simply add it to your cart anyway. Our staff will contact you to inform if we can/cannot provide the item in your order.